Cracked or Missing Deck Filler? 3D Print a Replacement With Hose Barb and Winch Cap
Deck fillers lead a hard life. They sit flush in the deck where they get walked on, hit by the sun all season, and wrenched open and shut with whatever tool is nearest. Sooner or later one of three things happens: the cap cracks or goes over the side, the flange splits where the screws go through, or you discover that the chrome-plated brass unit costs more than the fuel it lets in. Finding an exact replacement is a lottery too, because the through-hull diameter, flange size and hose tail on your boat rarely match what the chandlery has on the shelf.
This is a job where a parametric, sized-to-fit 3D file wins. The MarineLab3D deck filler generates a complete two-part kit, body and cap, to the exact dimensions of your deck cut-out and hose, and you print it in an afternoon. This guide walks through what the part is, how to measure for it, which material to print it in and how to fit it, with a frank look at where a printed filler is appropriate and where it is not.

What the file generates
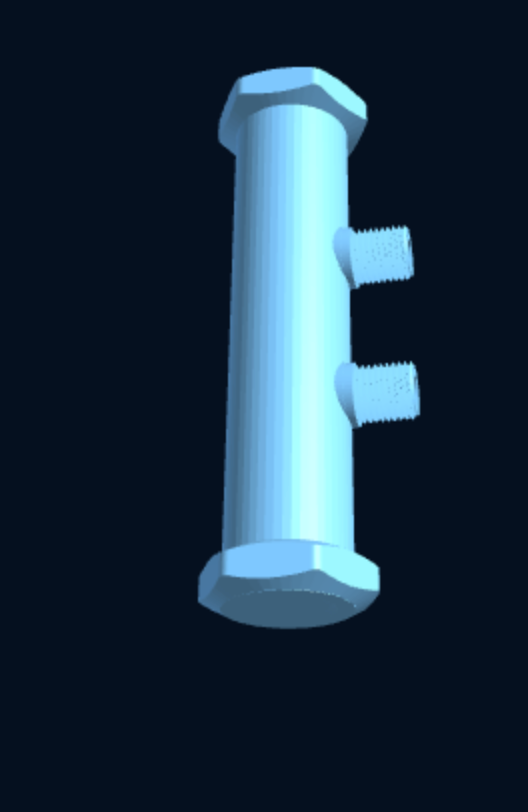
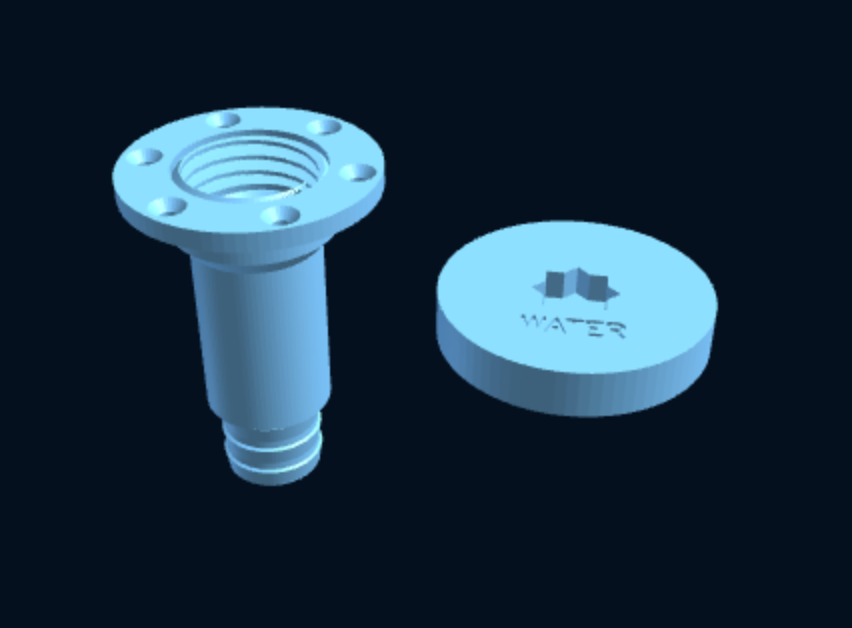
You download a ZIP with two STLs. The filler body is a deck flange with a threaded through-hull neck that ends in an angled hose barb underneath, so the hose can run off in whatever direction the locker allows. The cap screws down over the flange, carries an O-ring face seal on its underside, and has the standard central 8-point socket (11/16", 17.5 mm) so it opens with any winch handle, exactly like the bronze originals. The cap face is engraved with WATER, DIESEL or WASTE so nobody puts the dock hose in the wrong hole at two in the morning.
Four parameters set everything else:
- Through-hull outer diameter: 40, 50, 60 or 75 mm. This is the master dimension; the flange comes out at through-hull diameter plus 26 mm and the cap is sized to cover it.
- Hose barb outer diameter: sized to your hose ID, and it must be no larger than the through-hull diameter.
- Barb angle: anywhere from 0° (straight down) to 90° (horizontal), so the hose clears a bulkhead or tank top without a tight bend.
- Label: WATER, DIESEL or WASTE.
Measuring the old one
Unscrew the old filler and measure three things with a caliper: the outside diameter of the neck that passes through the deck (or the hole itself, if the old unit is gone), the inside diameter of the hose that connects underneath, and the diameter of the old flange so you know the new one will hide the old screw holes and sealant footprint. If the old flange is smaller than the new one, that is fine; if it is larger, you will see a ring of old sealant, so plan to clean it back or choose the next through-hull size up if the deck hole allows.
Pick the through-hull size that matches or is just under your deck hole; a hole a couple of millimetres oversize is normal and sealant fills it. For the barb, measure the hose inside diameter and set the barb OD 1–2 mm larger for a firm push fit. If you are unsure, the caliper routine in how to measure a hose and thread for a perfect printed fitting covers every case.

Material: this is where water and fuel part company
For a water filler, print in ASA for the best UV resistance on deck, or PETG if the filler sits under a locker lid or cockpit sole where it is mostly shaded. Our materials comparison explains the trade-off; the short version is that ASA on an open deck will still look right in five years and PETG may chalk.
For a diesel or petrol filler the rules change. Common filaments swell and soften in fuel, and a deck filler is the one fitting that sees fuel splashed on it every fill. The file's recommendation is PA612-CF, a carbon-filled nylon with good fuel resistance, printed dry and annealed. Read what diesel and petrol do to plastic before you commit, and treat a printed fuel filler as a tested part, not an assumption: soak a test print in the fuel for a week and check it for swelling and softness before it goes anywhere near the tank. Petrol vapour on a sailing yacht is also a regulatory question in many countries, so check what your survey or insurance requires for fuel-system components.
A waste filler (the pump-out deck fitting) is chemically undemanding; ASA or PETG is fine, and a printed one has the advantage of never corroding into a solid lump the way brass ones do on the holding tank.
Print settings
| Part | Material | Layer | Walls | Orientation |
|---|---|---|---|---|
| Filler body (water) | ASA / PETG | 0.2 mm | 3–4 | Flange down, barb upward (or supports under the barb) |
| Filler body (fuel) | PA612-CF | 0.2 mm | 4, solid | Same; dry filament, enclosure, anneal after printing |
| Cap | Same as body | 0.2 mm | 4 | Face down for a clean top; socket prints upward |
Print the body flange-down so the deck-facing surface is flat and the thread axis is vertical, which gives the strongest thread. The barb points up and can either bridge (at low angles) or take a small tree support. Four perimeters on the cap keep the winch socket from splitting when someone leans on the handle. If the filler will ever see pressure, for example a pressurised water system filled from a dock hose, follow the solid-wall, scarf-seam settings in 3D printing watertight fittings that hold pressure and test it first.
Fitting it
Clean the deck back to bare gelcoat around the hole, bed the flange in polyurethane or polysulphide deck sealant, and fasten with countersunk stainless screws through the flange's holes into a backing pad or the deck core, having sealed the core edges with epoxy if it is balsa or plywood. Push the hose onto the barb with a double stainless clamp. Fit an O-ring in the groove under the cap, lightly greased with silicone grease, and screw the cap down with a winch handle until the O-ring seats; there is no need to reef it down.

Related files
If only the cap is the problem and the original body is sound, the replacement tank cap with winch socket is threaded to standard BSP sizes and drops onto an existing filler. Motorboats without a winch handle aboard can print the free winch key, the subject of our lost-cap-key guide. For the through-hull side of the same job, the through-hull skin fitting and lock nut kit uses the same BSP thread family. All of them live in the Plumbing & Pumps collection.
Safety note: 3D-printed parts are not certified marine equipment. A printed deck filler is a sensible replacement for a water or waste fitting when printed in the recommended material and tested before use. For diesel or petrol, verify fuel resistance on a test print, check what your local regulations and insurer require for fuel-system components, and do not rely on a printed part in any application where a failure could cause a fire, flooding or injury. Always verify material and fit for your own boat.
Not sure which through-hull size or barb angle to choose? Email info@marinelab3d.com with a photo of the old filler and your measurements and we will confirm the settings before you buy.